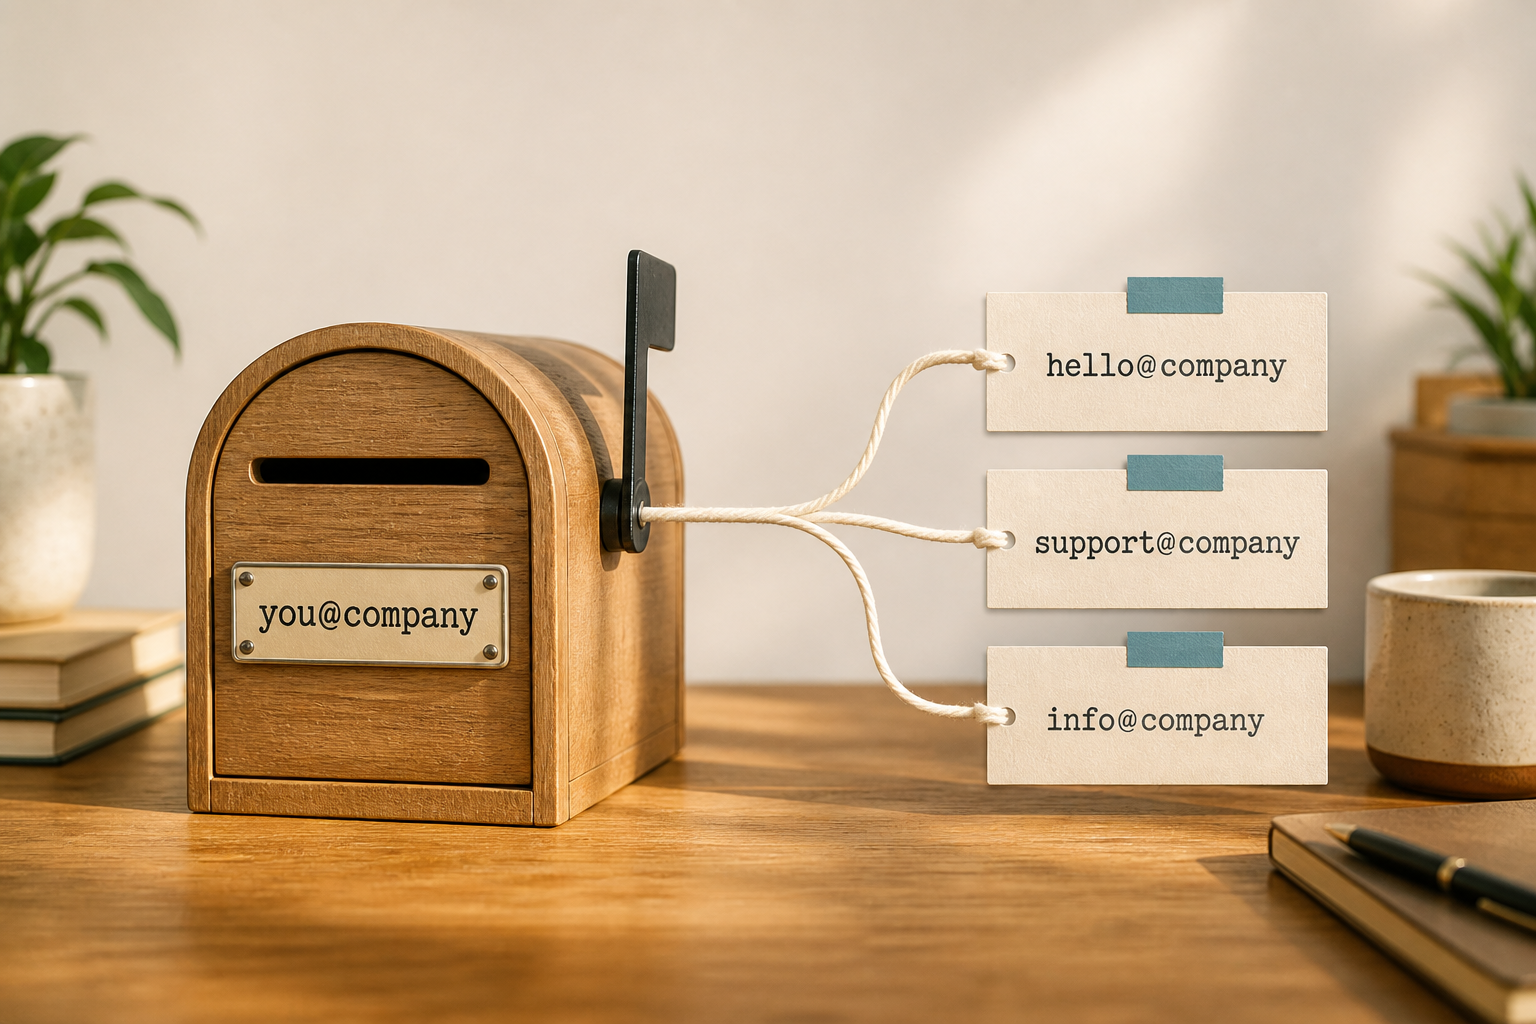
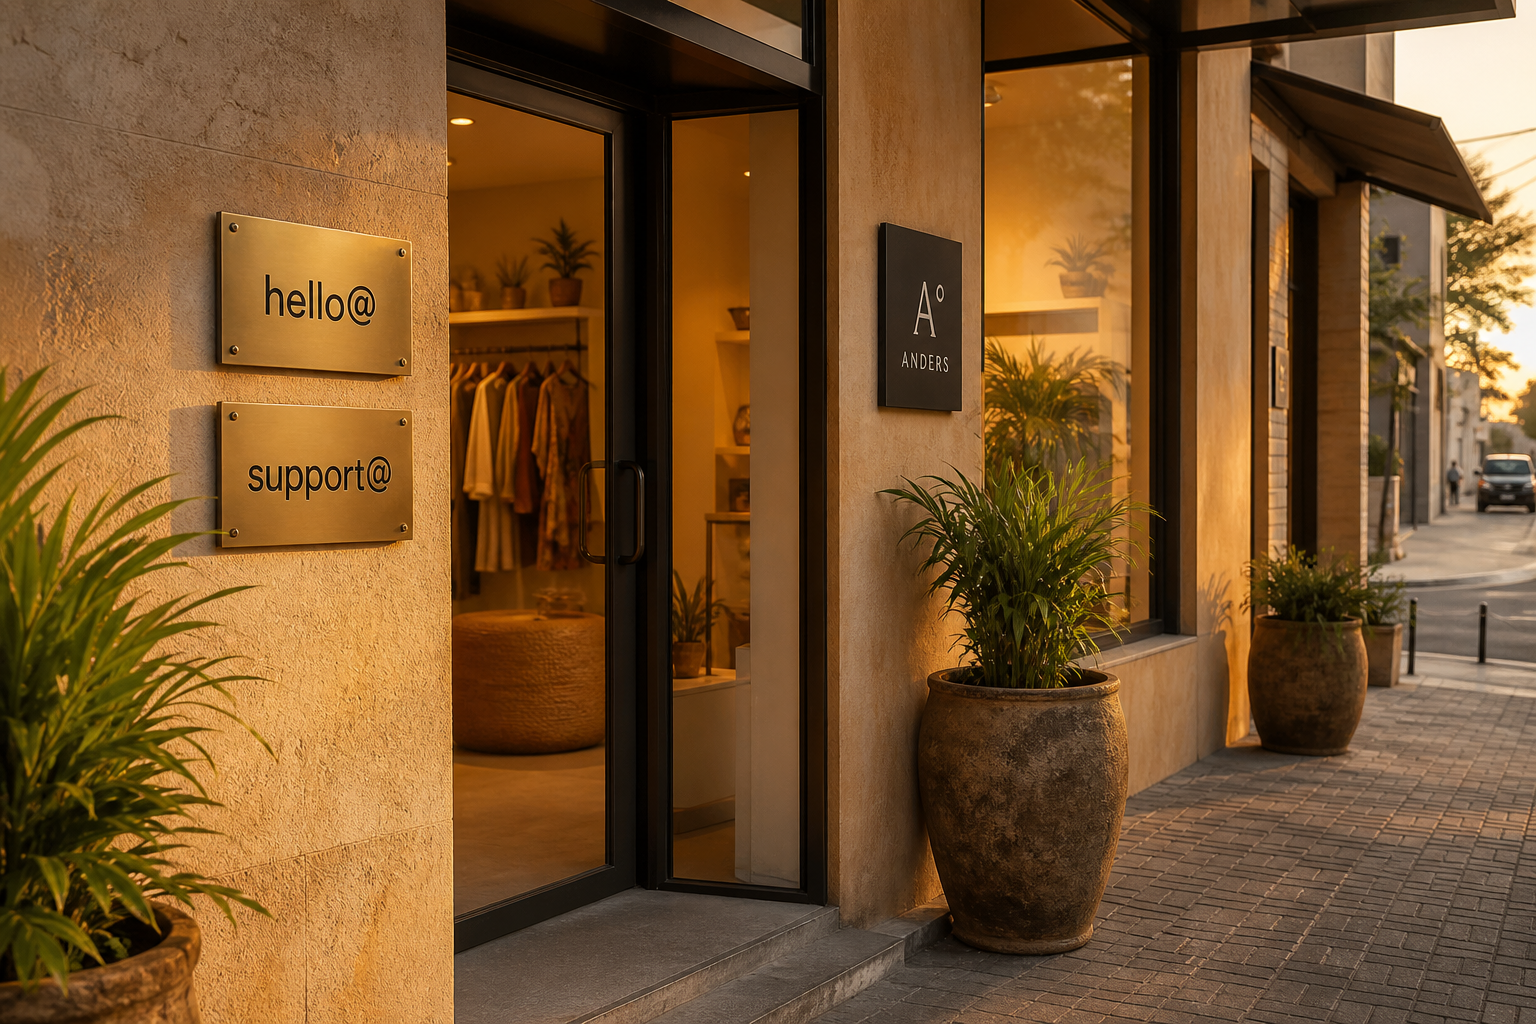
hello@yourdomain and support@yourdomain are the two role addresses most small brands need first: one for first contact, one for issues that already happened. On MailShrine Free you can cover both as aliases on your Free mailbox — Free includes 2 mailboxes + 2 aliases.
You do not need a second paid seat just to put hello@ on Instagram.
Real-life example: Ember Clay Studio
Chioma sells hand-thrown mugs online. Shoppers DM from Instagram to hello@emberclay.studio; broken-shipment tickets go to support@. Both land in Chioma’s one Free mailbox until she hires a part-time CX person — then support@ becomes its own mailbox or shared-access setup.
Choose the right pair for Free’s 2-alias cap
| Public need | Recommended address | On Free |
|---|---|---|
| Bio / first contact | hello@ | Alias #1 |
| Tickets / after-sales | support@ | Alias #2 |
| Website form | Prefer hello@ or info@ — don’t invent a third on Free | Remap form → existing alias |
| Founder / banking | you@ mailbox | Uses the 1 seat |
If you need billing@ too, either replace support@ or upgrade for more aliases (how many emails).
What you need
| Item | Why |
|---|---|
| Verified domain | MX + SPF/DKIM so mail delivers |
| One mailbox | Aliases attach to it |
| Free alias slots | 2/2 for hello@ + support@ |
Alias basics: Alias vs mailbox. Product limits: Free plan.
Step 1: Create the owner mailbox
Example: chioma@emberclay.studio. Complete domain verification first (setup).
Step 2: Add alias `hello`
Mailbox settings → Aliases → local part hello on your domain. Save. This becomes the public brand address.
Step 3: Add alias `support`
Second alias uses Free’s remaining slot (2/2). Do not create support@ as another Free mailbox.
Step 4: Point every public surface at the right role
- Instagram / TikTok bio →
hello@ - Checkout confirmation / FAQ →
support@ - Website contact form → one of the two (stay consistent)
- Keep
you@off marketing creatives
Step 5: Test delivery and Reply-As habits
Send from a personal Gmail to both aliases. Confirm both appear in the mailbox. When you reply, choose the address customers wrote to so threads stay branded (Send As / identity options in webmail).
Checklist
- Mailbox existsCompleted
hello@alias liveCompletedsupport@alias liveCompleted- Bios and forms updatedCompleted
- Test messages deliveredCompleted
- Team notified which address is for sales vs ticketsNot completed
Common mistakes
- Publishing five mailto links on Free — only two aliases land.
- Creating
hello@as a mailbox then wondering why Free is “full.” - Sharing the owner password with temps instead of planning shared access (shared mailbox guide).
- Relying on catch-all so “any@domain works” — catch-all risks.
Next steps
Citations & References
- Reference: Google Workspace: Create group addresses for teams
- Reference: ICANN: What is DNS?
- Reference: Google: Email sender guidelines
Written by Elena M., Business Email Specialist. Elena designs role-address maps so tiny brands look organised without buying a mailbox per department.