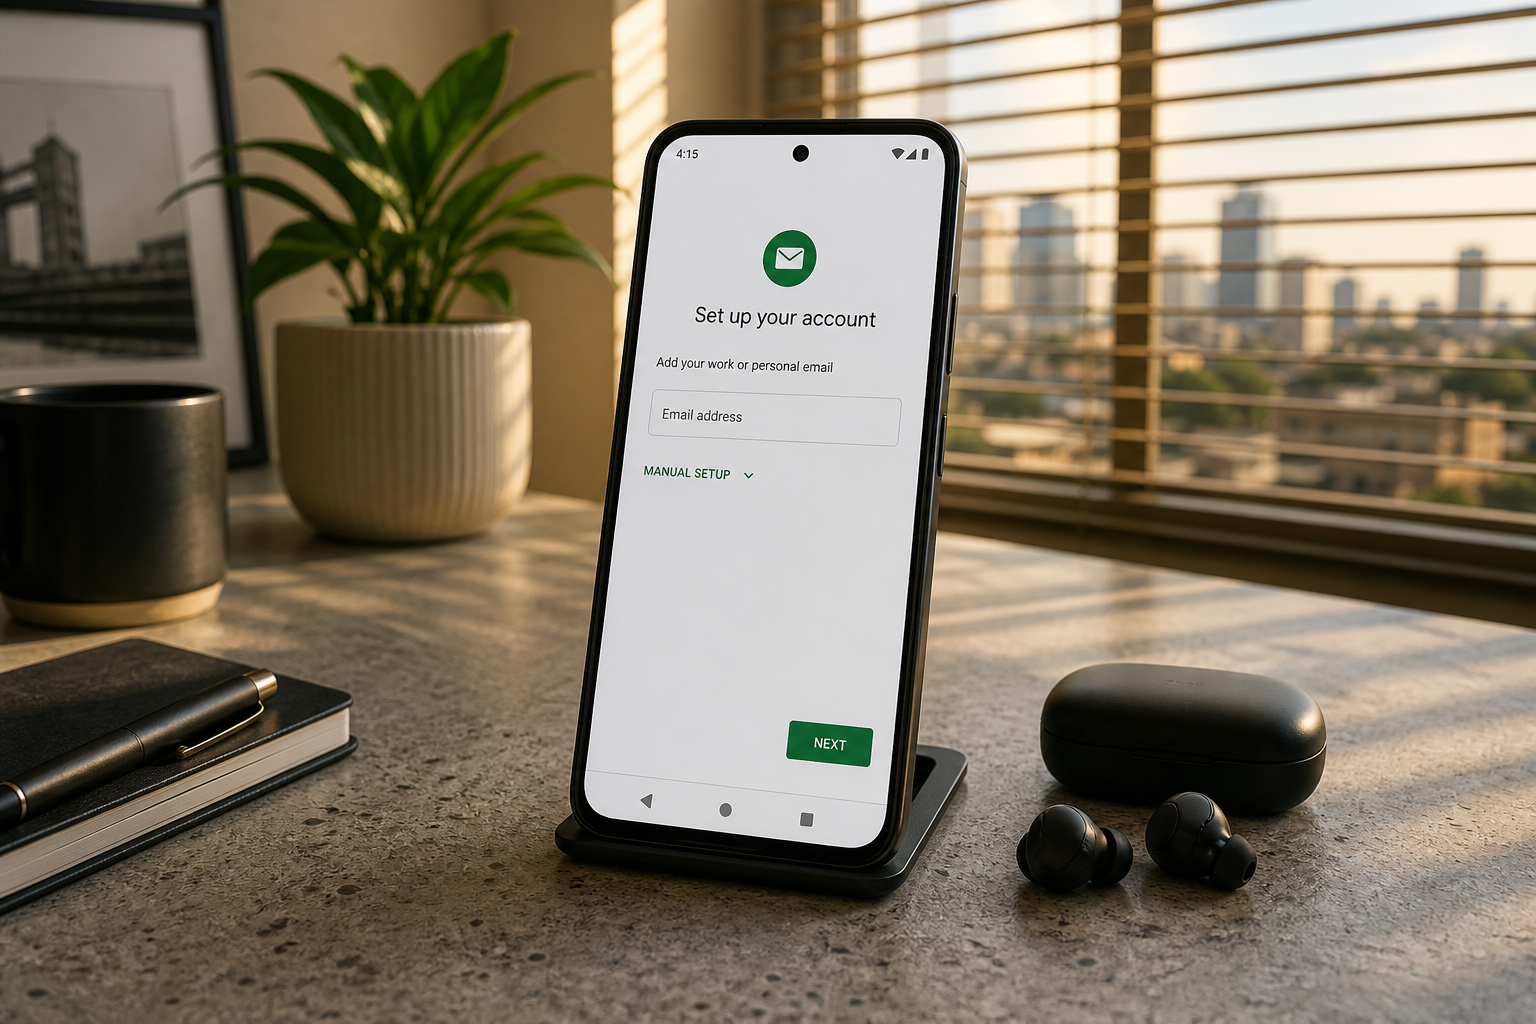
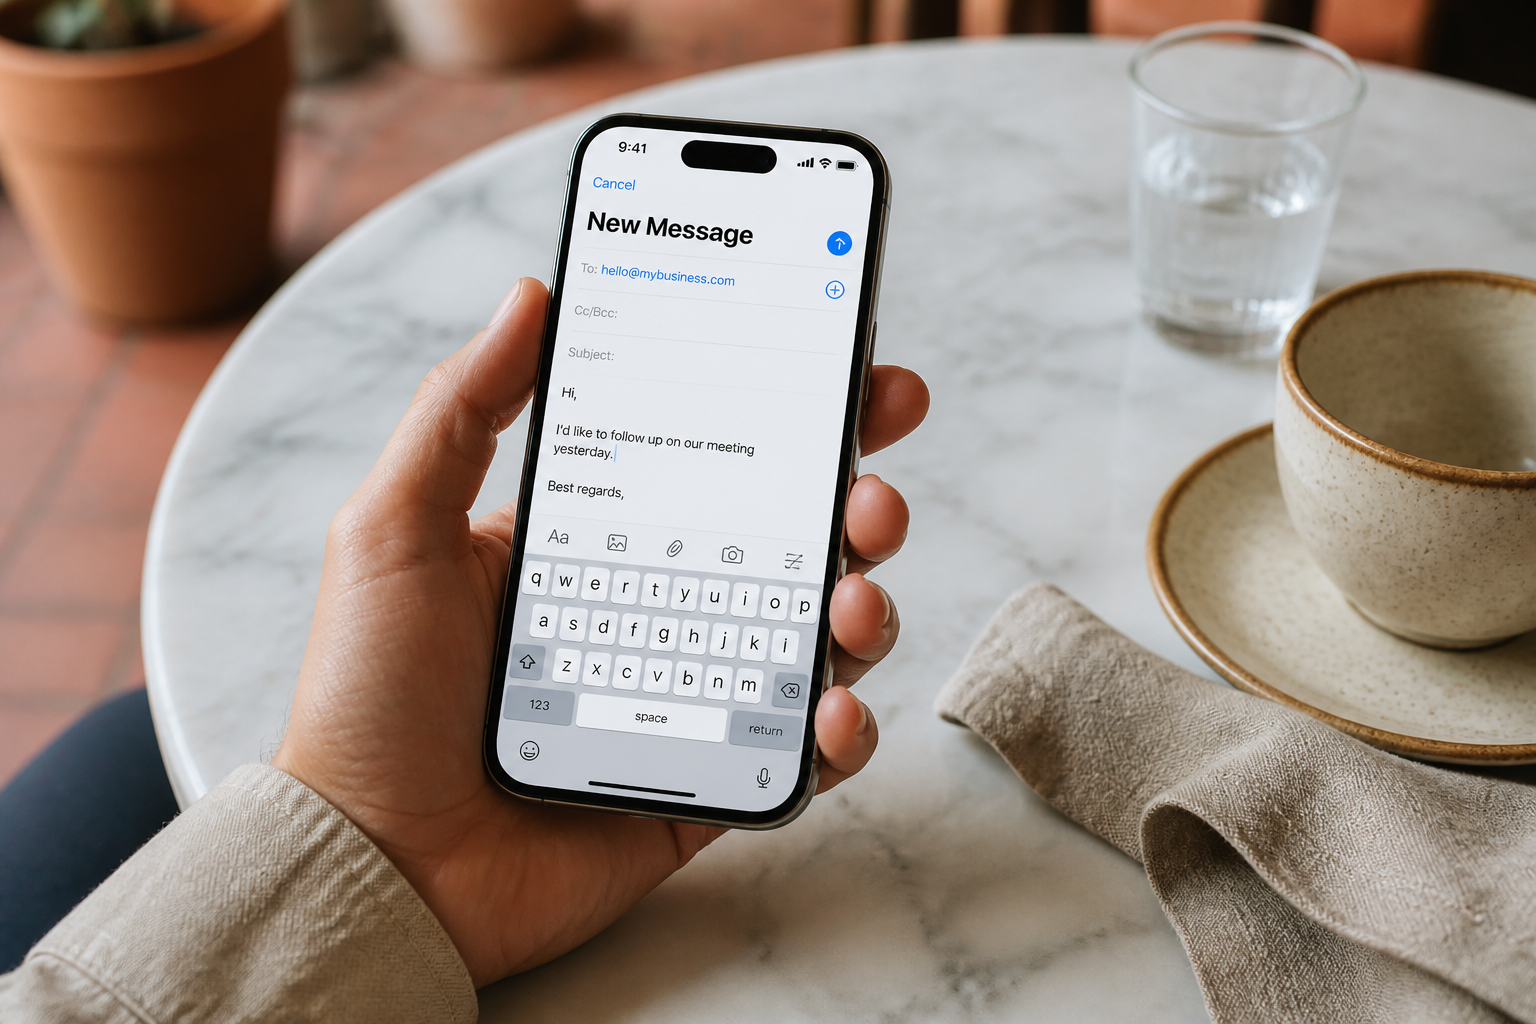
Most founders read and reply to work mail from a phone first. On iPhone, that usually means the built-in Mail app (or Mail on a Mac). You can connect a MailShrine address with IMAP for sync and SMTP for send — without moving to iCloud-only mail or Google Workspace.
Copy hosts and ports from MailShrine before you tap anything (IMAP & SMTP settings). Never type hostnames from memory or random TikTok overlays.
Real-life example: Lekki Ceramics
Tomi runs Lekki Ceramics, a home-studio pottery brand. Orders come to hello@lekkiceramics.ng (alias on her mailbox). She needs the alias mailbox on her iPhone while glazing — laptop stays at the studio.
What success looks like:
- Account added via Other → IMAP (not Google or Exchange).
- New Instagram inquiry lands on the phone within a minute of webmail.
- Replies show her professional From address.
What to copy from MailShrine
Have these on a notes app or second screen:
| Field | Source |
|---|---|
| Email + password | Your mailbox credentials |
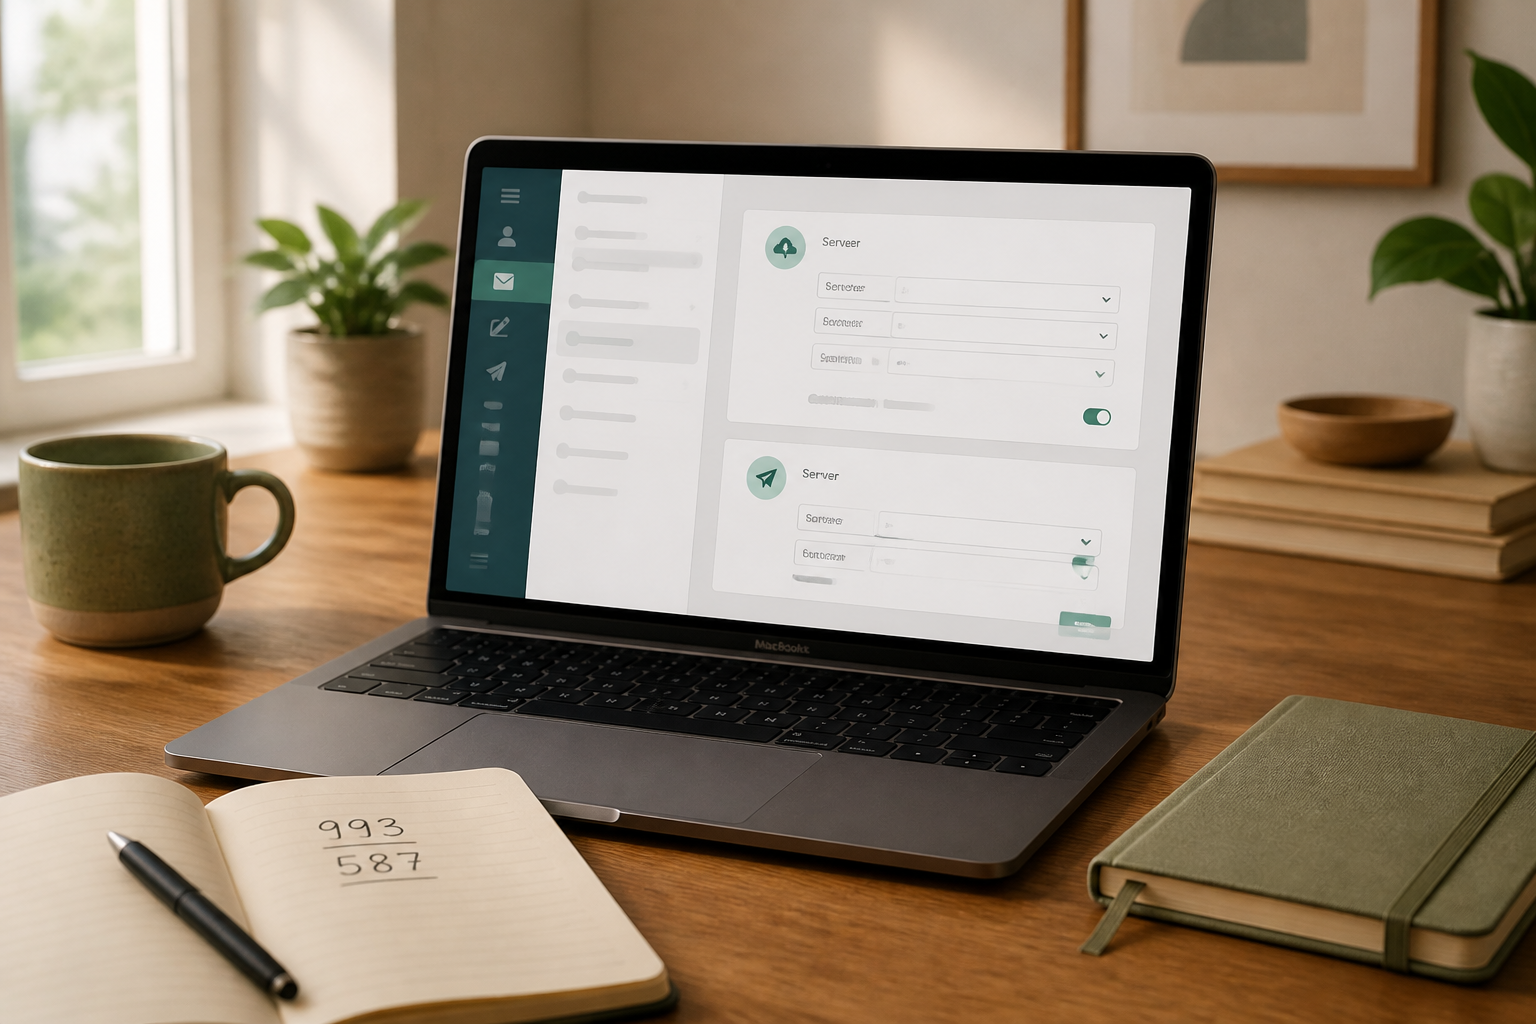
| IMAP host / port / SSL | MailShrine client settings |
| SMTP host / port / encryption | Same panel |
| Username | Full address (tomi@lekkiceramics.ng) |
Placeholders while you fill iOS fields:
- IMAP host:
[copy from MailShrine] - SMTP host:
[copy from MailShrine]
Common ports are 993 (IMAP SSL) and 587 (SMTP STARTTLS) — only use them if they match what MailShrine shows.
iPhone: add the account (iOS Mail)
- Open Settings → Mail → Accounts (on some versions: Settings → Apps → Mail → Mail Accounts).
- Tap Add Account.
- Choose Other (not Google, Microsoft Exchange, Yahoo, or iCloud).
- Tap Add Mail Account.
- Enter Name, Email, Password, and a Description (e.g. “Lekki Ceramics”).
- Tap Next. When iOS fails to auto-detect, stay on IMAP (not POP).
- Under Incoming Mail Server, paste MailShrine’s IMAP host; username = full email; password = mailbox password.
- Under Outgoing Mail Server, paste MailShrine’s SMTP host; username/password again (required).
- Tap Next / Save. Turn on Mail for the account.
If iOS asks for port details
- Open the new account → Account → Advanced (incoming) and SMTP (outgoing).
- Set incoming port + SSL to match MailShrine.
- Under primary SMTP server, set outgoing port + encryption to match MailShrine.
- Ensure Authentication is Password for SMTP.
Mac: Apple Mail
- Open Mail → Settings (or Preferences) → Accounts → +.
- Choose Other Mail Account… → Continue.
- Enter name, full address, password → Sign In.
- When prompted, choose IMAP and paste MailShrine incoming + outgoing hosts.
- Finish. In Server Settings, double-check ports and SSL against MailShrine if send fails.
Same mailbox can sit on iPhone and Mac — that is the point of IMAP.
Proof it works
| Test | Pass condition |
|---|---|
| Outbound | Phone send arrives in a personal inbox |
| Inbound | Reply appears on iPhone Mail |
| Sync | Same message visible in MailShrine webmail |
| Alias From (optional) | If your plan/UI allows send-as alias, confirm recipient sees hello@… |
Tomi’s checklist
- Chose Other → IMAP (not Exchange)Completed
- Pasted IMAP + SMTP hosts from MailShrineCompleted
- SMTP username/password filled (not blank)Completed
- Round-trip send/receive succeededCompleted
- Signature updated for wholesale clientsNot completed
For signature hygiene on mobile, see Email Signature Best Practices.
Common iPhone mistakes
- Picking Exchange / Microsoft 365 — expects Microsoft tenants, not MailShrine IMAP.
- Leaving SMTP username empty — iOS allows it; send then fails later.
- POP instead of IMAP — mail downloads oddly; folders will not sync with webmail.
- Guessing hosts — SSL name mismatch. Always re-copy from MailShrine.
- Domain not verified — client setup cannot fix missing MX (setup guide).
Notifications and battery tips
- Allow Mail notifications for the business account only if you need interrupt-driven replies.
- Fetch vs Push depends on iOS and provider support; if mail feels slow, open Fetch New Data and try a shorter fetch interval for that account.
- Prefer Wi-Fi for the first large IMAP sync on an old inbox.
Next steps
Citations & References
- Reference: Apple Support: Add email accounts on iPhone
- Reference: Apple Support: SMTP settings
- Reference: IETF RFC 8314: Cleartext Considered Obsolete
Written by Ben A., Mobile Email Specialist. Ben helps founders get domain mail onto iPhone Mail without stumbling into Exchange setup screens.