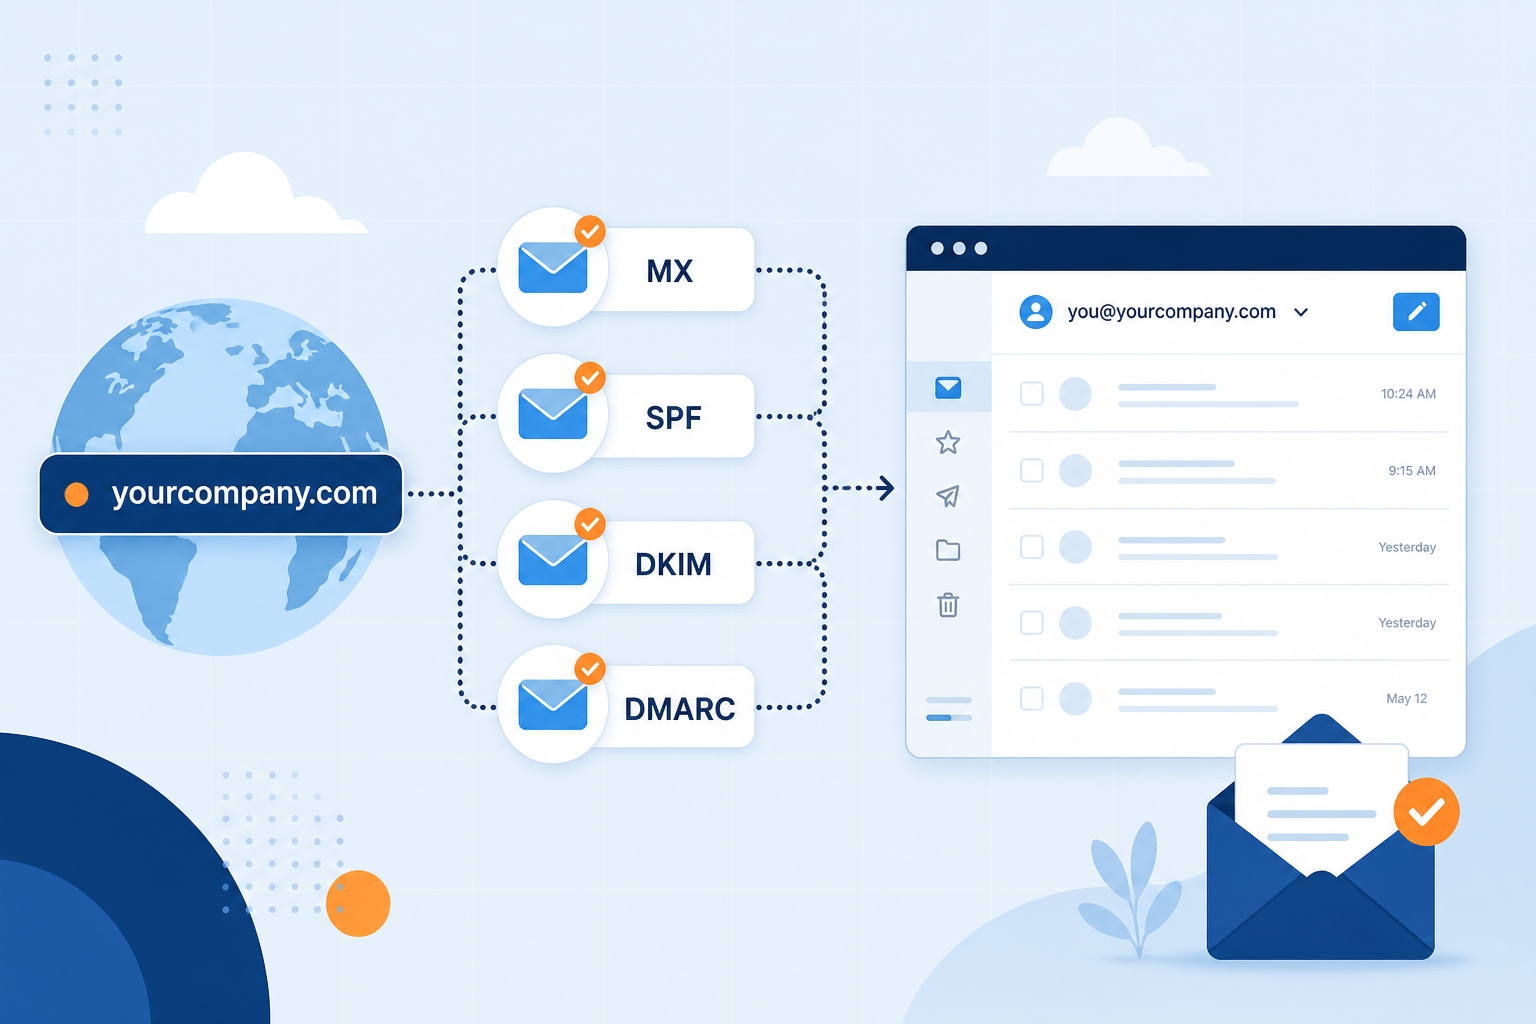

A custom domain email is an address on a domain you own — you@yourcompany.com instead of you@gmail.com. Customers recognize your brand in every reply, invoices look legitimate, and your team stops sharing one free inbox.
This guide shows you how to create custom domain email with MailShrine Business Email: claim the address pattern you want, connect the domain, publish DNS, then open mailboxes and aliases. For the full platform walkthrough with a bakery case study, see How to Set Up Business Email.
Real-life example: Northline Studio
Kemi freelances as a brand designer under Northline Studio. Her website already uses northlinestudio.com, but proposals still go out from kemidesigns94@gmail.com. Two prospects asked if the studio site and the Gmail address belonged to the same person.
Kemi’s goal for one evening:
- Send from
kemi@northlinestudio.com. - Put
hello@northlinestudio.comon her contact form and Instagram bio. - Keep the site on Netlify — change email DNS only.
Follow her path below. Swap her domain for yours.
What “custom domain email” actually means
| Piece | Example | Role |
|---|---|---|
| Domain | northlinestudio.com | The brand name people type after @ |
| Local part | kemi, hello, billing | The mailbox or alias before @ |
| Full address | kemi@northlinestudio.com | What customers save in their contacts |
| Email host | MailShrine | Stores mail and shows the MX/SPF/DKIM/DMARC values to publish |
You do not need to move your website host. Domain registrar + website host + email host can be three different companies. Only the mail records (MX and authentication TXT) need to point at your email provider.
Important: Buying a domain is not the same as creating email. Until you add an email host and publish MX records, you@yourdomain.com will bounce.What you need before you start
| Item | Why you need it |
|---|---|
| A domain you control | Bought at Namecheap, Cloudflare, GoDaddy, Google Domains successor, etc. |
| DNS login | Permission to add MX and TXT records (and remove old MX if any). |
| A MailShrine account | Same login as MailShrine Email Marketing — then open Business Email. |
| About 20–40 minutes | Plus DNS propagation (often under an hour, sometimes up to 24–48 hours). |
Step 1: Choose your address pattern
Before you click around in DNS, decide how you want the brand to show up in people’s inboxes.
| Pattern | Example | Best for |
|---|---|---|
| Name mailbox | kemi@northlinestudio.com | Founders, personal trust |
| Role alias | hello@, info@, support@ | Public forms without sharing a password |
| Department mailbox | billing@, jobs@ | Separate ownership when volume grows |
Kemi’s plan: one paid mailbox (kemi@) plus an alias (hello@) so she does not buy a second seat on day one. Free plans include a small alias allowance; Solo and above unlock unlimited aliases — check Billing / Overview meters in your workspace.
Step 2: Open MailShrine Business Email
- Sign in at MailShrine (or create an account).
- Open Business Email from products / the suite switcher.
- Land on the dashboard Overview. You will use Domains, then Mailboxes.
Pick a plan that matches how many real mailboxes you need. You can upgrade later without redoing DNS.
Step 3: Add the custom domain
- Go to Domains.
- Enter the domain exactly — for Kemi:
northlinestudio.com(nohttps://, nowwwunless you truly own mail on a subdomain). - Continue. MailShrine creates the domain and shows the exact DNS records to publish.
Status will stay Pending until MX / authentication verify. That is expected.
Tip: Prefer the root domain (company.com) for business mail. Addresses likeyou@mail.company.comwork technically but look less premium on invoices and LinkedIn.
Step 4: Publish MX, SPF, DKIM, and DMARC
Custom domain email only works after the internet can both deliver to and trust mail from your domain. MailShrine lists the values for your workspace — paste those, not random blog examples.
MX — inbound delivery
MX records answer: “Where should mail for @yourdomain go?”
| Type | Host | Priority | Value |
|---|---|---|---|
| MX | @ | 10 | (paste the host MailShrine shows) |
Delete leftover MX rows from an old cPanel, Google Workspace trial, or website “email forwarding” product before you save.
SPF — authorized senders
One TXT record listing who may send as your domain:
- Host:
@ - Shape:
v=spf1 include:… ~all
Critical: Use one SPF TXT per domain. Merge includes if a website host or marketing tool already published SPF.
DKIM — message signatures
Paste the selector hostname (often like mail._domainkey) and the public key value MailShrine displays.
DMARC — policy for failed checks
- Host:
_dmarc - Starter value:
v=DMARC1; p=none; rua=mailto:dmarc@yourdomain.com
Stay on p=none while you confirm real mail passes, then tighten later.
Registrar tips
| Registrar | Watch-outs |
|---|---|
| Cloudflare | Mail records must stay DNS only (grey cloud). Orange-cloud proxy breaks SMTP. |
| Namecheap | Advanced DNS → Host @ = root domain. |
| GoDaddy | Remove previous provider MX before adding new ones. |
Save DNS, return to MailShrine, and start verification. Leave the tab; checks continue as records propagate.
Step 5: Wait for verification
| Symptom | Likely cause | What to do |
|---|---|---|
| Pending for hours | Wrong Host (www vs @) | Re-copy Name / Host from MailShrine |
| MX fails | Old MX still live | Delete legacy MX |
| SPF fails | Two SPF TXT records | Combine into one |
| Website fine, mail not | Expected | Site uses A/CNAME; mail uses MX/TXT |
When the domain shows Verified, create addresses.
Step 6: Create the mailbox (you@yourcompany.com)
- Open Mailboxes.
- Select the verified domain.
- Enter the local part — Kemi types
kemi→kemi@northlinestudio.com. - Set a strong password and finish any provisioning steps the dashboard shows.
- Save.
You now have custom domain email with the storage included on your plan (per mailbox — for example Free includes 2GB; higher plans include more).
Step 7: Add public addresses with aliases
Customers should write to hello@ without needing Kemi’s password.
- Open mailbox settings for
kemi@northlinestudio.com. - Add alias
helloonnorthlinestudio.com. - Mail to
hello@northlinestudio.comarrives in Kemi’s inbox (or a shared mailbox once she invites teammates).
| Address | Type | Good for |
|---|---|---|
kemi@northlinestudio.com | Mailbox | Signed proposals & personal replies |
hello@northlinestudio.com | Alias | Website form / Instagram |
billing@northlinestudio.com | Alias or second mailbox | Invoices when volume grows |
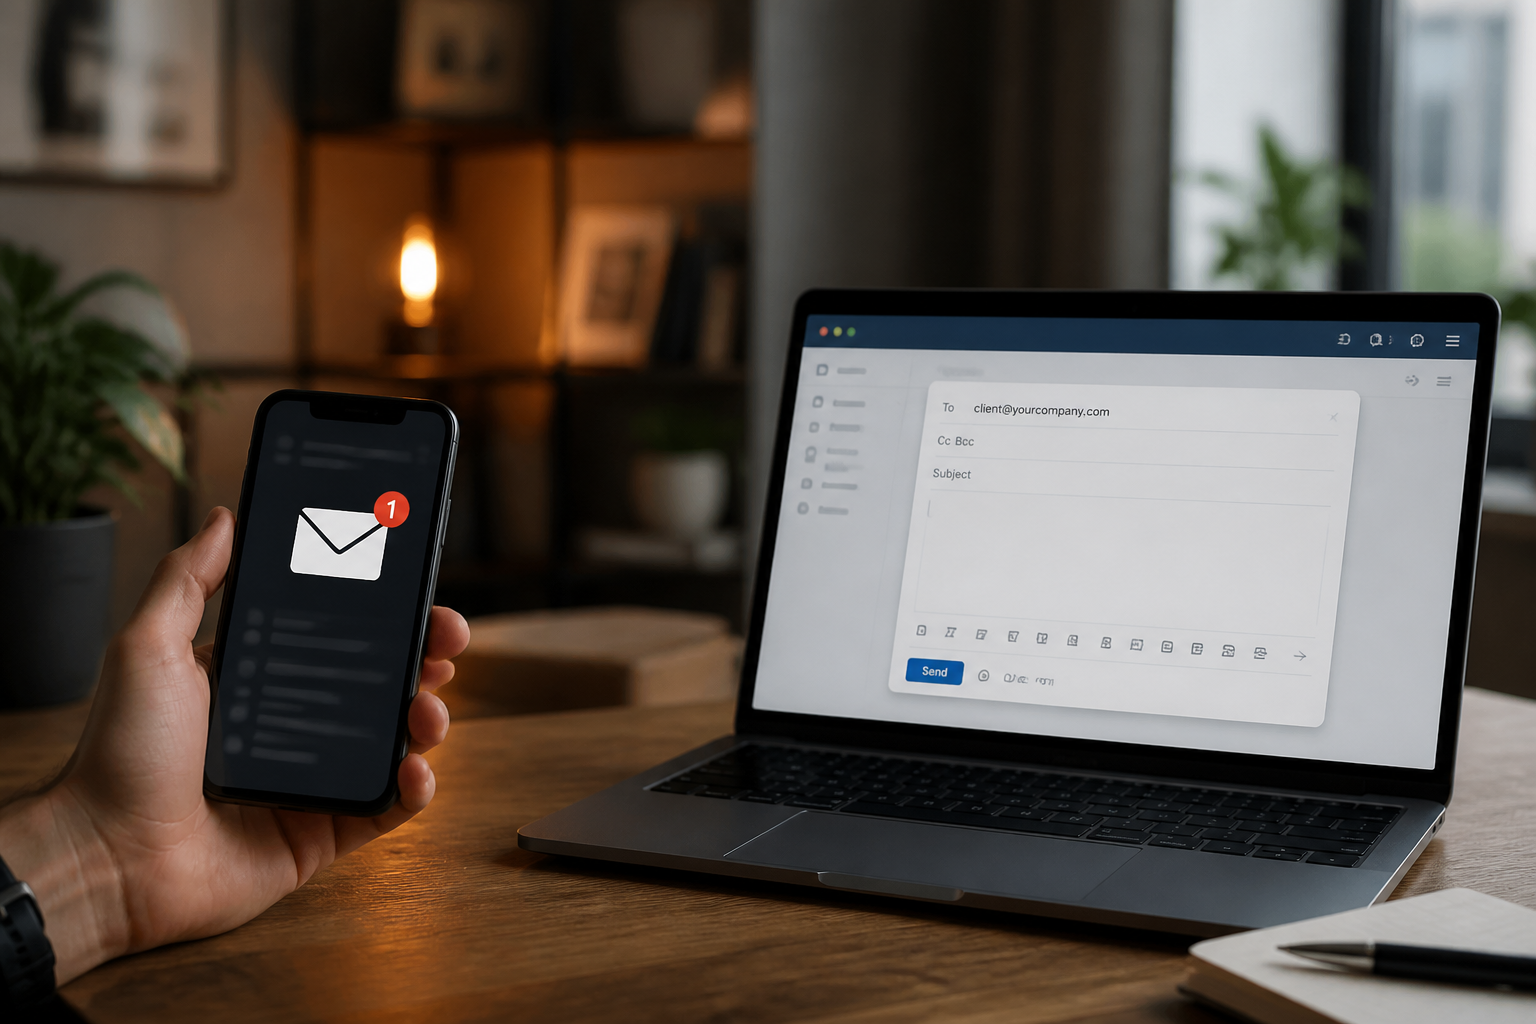
Step 8: Open webmail and prove the round-trip
- Open MailShrine webmail.
- Send from
kemi@northlinestudio.comto a personal Gmail/Outlook. - Reply from Gmail back to the custom address and confirm delivery.
- Optional: send or reply-as
hello@…so the public identity looks right.
Avoid spammy first-test subjects. A plain “Testing my new studio email” is enough while SPF/DKIM finish propagating.
Step 9: Connect phone or Outlook (optional)
Webmail is enough for week one. When you are ready:
- Copy IMAP / SMTP hosts from mailbox or client help inside the product.
- Typical ports: IMAP 993 (SSL), SMTP 587 (STARTTLS) — confirm against what MailShrine shows.
- iPhone: Settings → Mail → Accounts → Add Account → Other → IMAP.
- Outlook: add the account with the same IMAP/SMTP values.
Deeper walkthroughs live under the Clients & Devices guide category.
Kemi’s finished setup (checklist)
By the end of the evening Kemi has:
- Domain
northlinestudio.comverified in MailShrineCompleted - MX + SPF + DKIM + DMARC published at her registrarCompleted
- Mailbox
kemi@northlinestudio.comCompleted - Alias
hello@northlinestudio.comon the contact formCompleted - Successful send + receive test via webmailCompleted
- IMAP on her iPhone (next morning)Not completed
Her Netlify site never moved. Only email routing changed.
Custom domain email vs free Gmail forwarding
Some registrars offer “email forwarding” that relays you@domain into Gmail. That can collect mail casually, but it is not the same as hosted custom domain email:
- You often cannot send as
you@domainreliably without SPF/DKIM on a real mail host. - Team sharing and webmail are limited or missing.
- Deliverability and professionalism still lag a real mailbox on MailShrine.
If people must reply to your brand address — and you must reply from it — create a real mailbox, not only a forward.
Common mistakes to avoid
- Assuming the website host “includes email” — many static/Jamstack hosts do not. Add a dedicated email product.
- Publishing A records instead of MX — can break the site; touch only the mail records listed in MailShrine.
- Leaving old MX — inbound mail may bounce between providers.
- Two SPF records — merge includes into one
v=spf1line. - Orange-cloud mail records on Cloudflare — use DNS-only.
- Putting
wwwin the mailbox domain — useyou@company.com, notyou@www.company.com, unless you deliberately configured that subdomain.
Check your work
- Domain Verified under MailShrine Domains.
- Mailbox active / provisioned.
- External round-trip: custom domain → Gmail → reply back.
- Optional: MX / SPF / DMARC lookup under Business Email Tools once those checkers ship.
Next steps
- Read How to Set Up Business Email for Adaobi’s full Saturday checklist.
- See Email Alias vs Mailbox when role addresses multiply.
- Compare costs under How Much Does Business Email Cost if you are leaving Google Workspace seats behind.
Citations & References
- Reference: Google: Email sender guidelines
- Reference: ICANN: What is DNS?
- Reference: Cloudflare Learning Center: What is an MX record?
Written by Marcus T., Business Email Setup Specialist. Marcus helps freelancers and studios move proposals off free Gmail onto branded custom domain addresses.